k8s学习笔记 - k8s worker 节点扩容
 telzhou618 收录于 devops
目录
在现实中,往往会遇到集群节点资源紧张,这时候需要增加更多的节点来缓解,并且k8s会自动迁移一些容器到新的节点上,以保证各个节点压力均很,接下来利用 kubesphere 社区提供的集群安装工具 kubekey 来给集群增加新的 worker 节点。
现有的集群有三个节点,分别为master、node1、node2, 现在给集群扩容一个节点 node3,操作步骤如下所示。
创建新机器
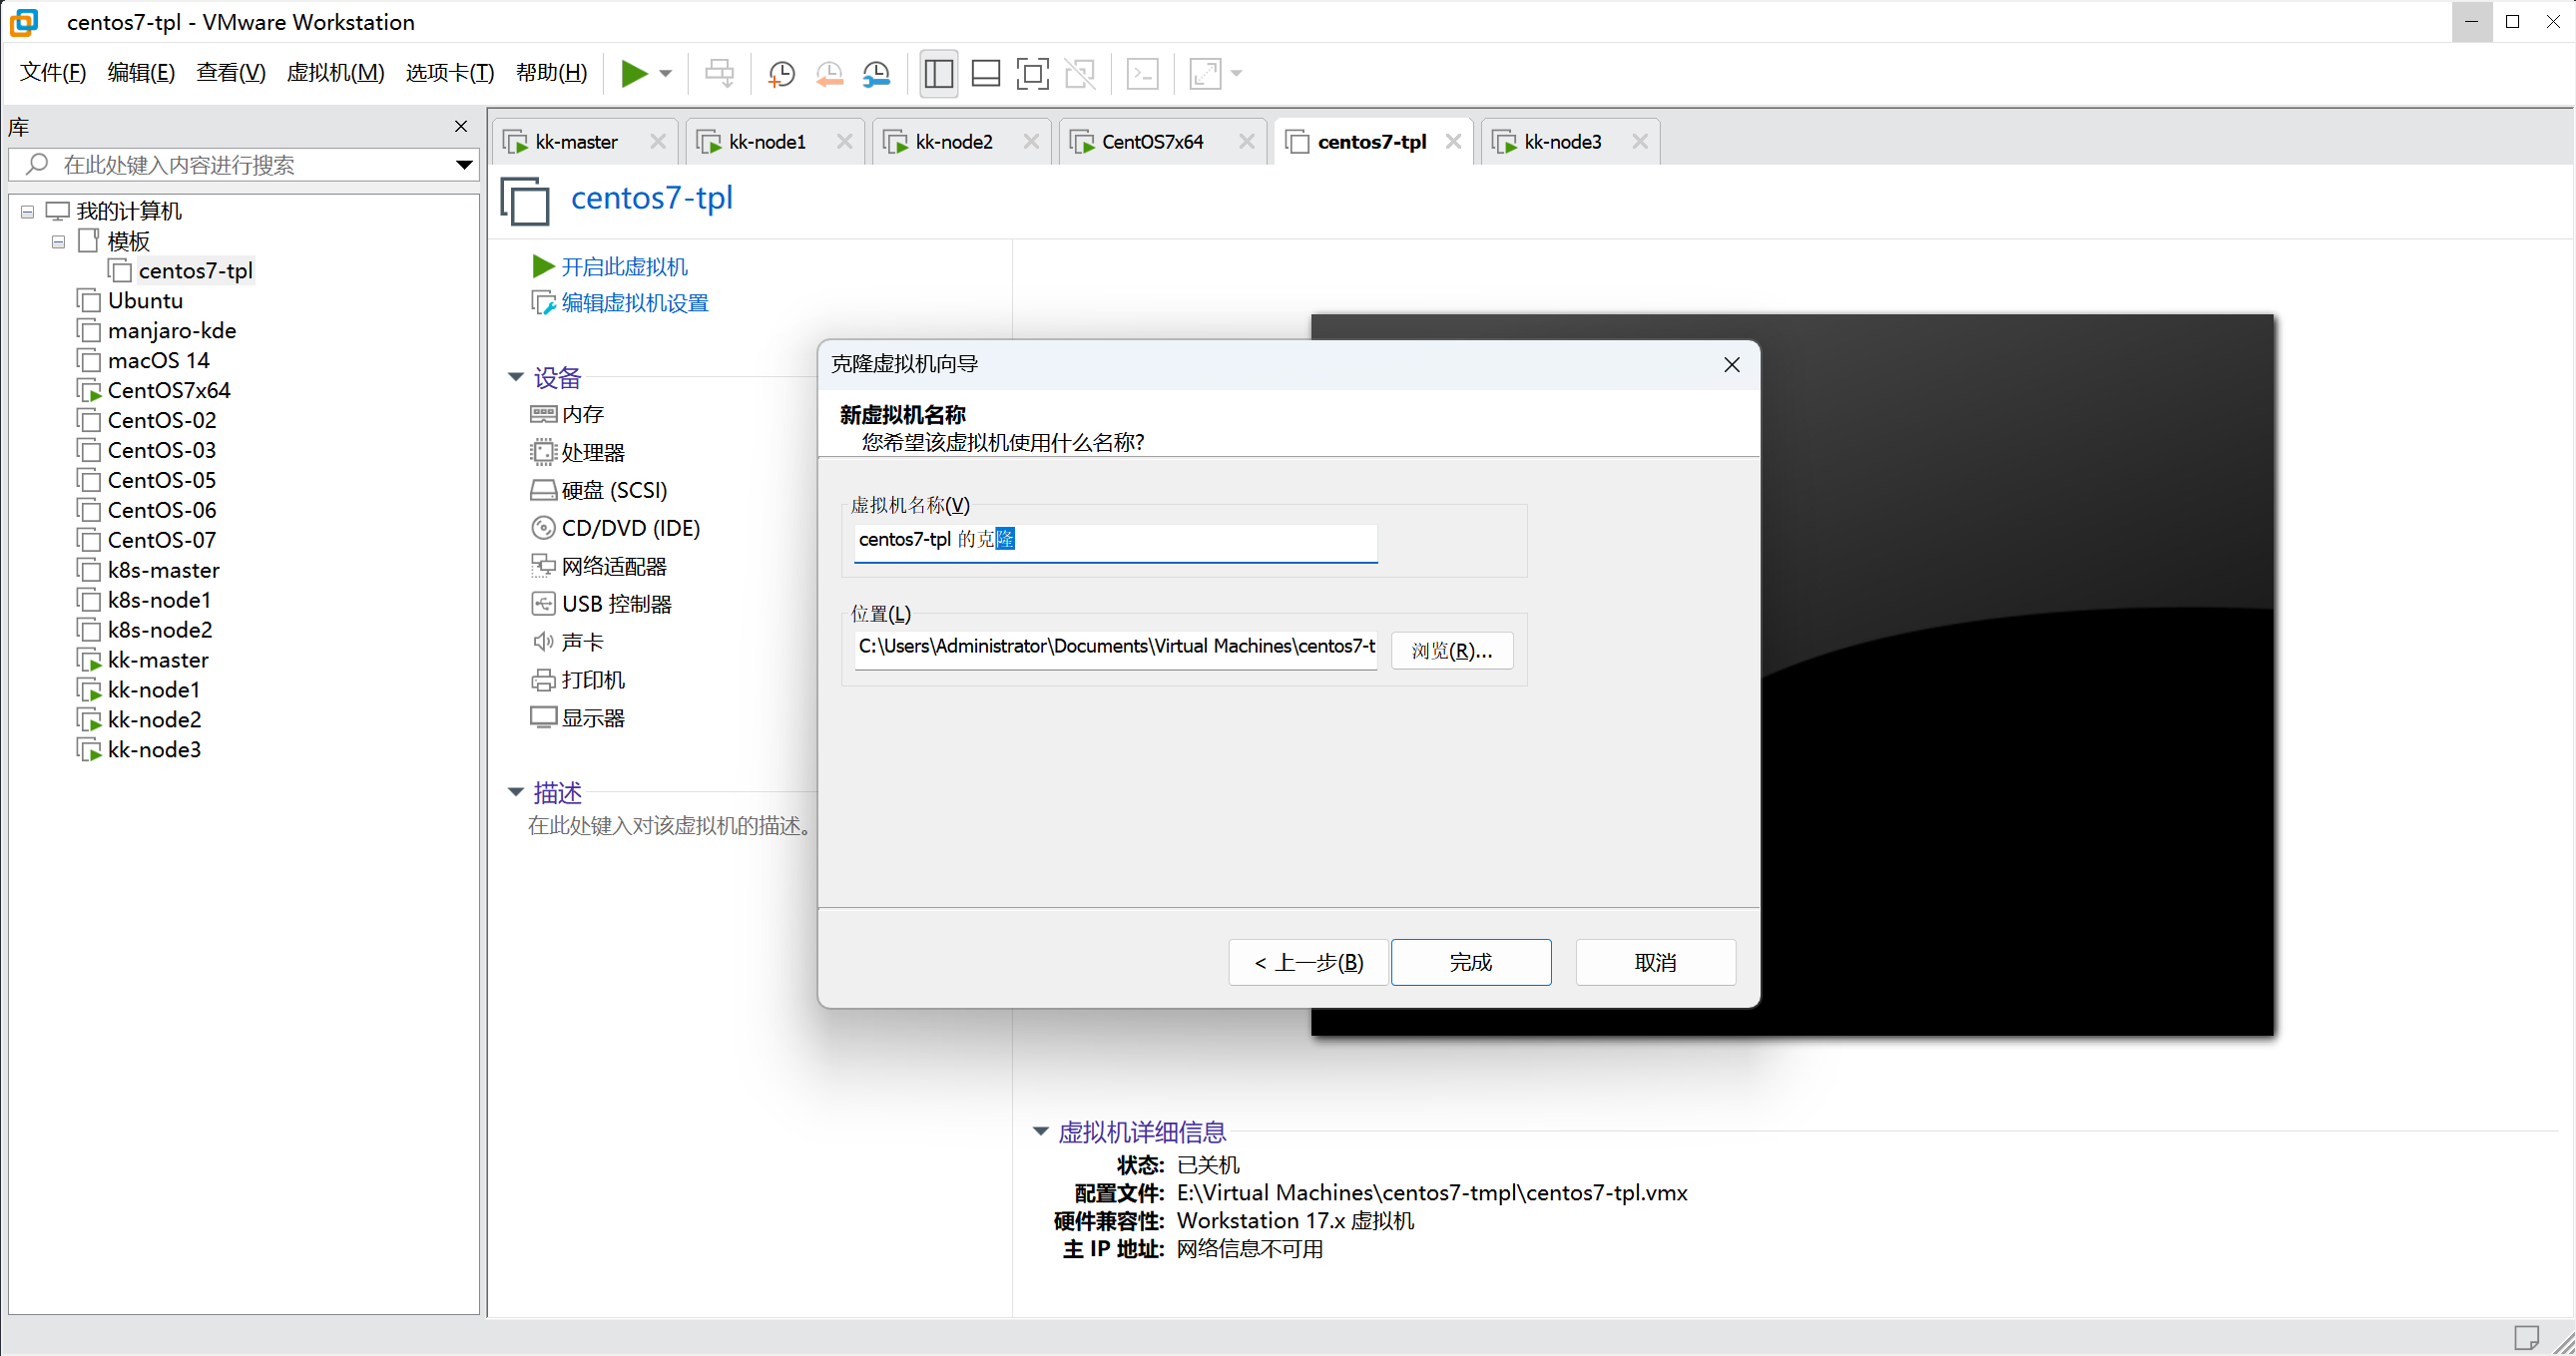
集群用的 VM 虚拟机,系统centos7,先找一台干净的虚拟机克隆一台新机器,注意需要关闭VM后才能点击克隆。
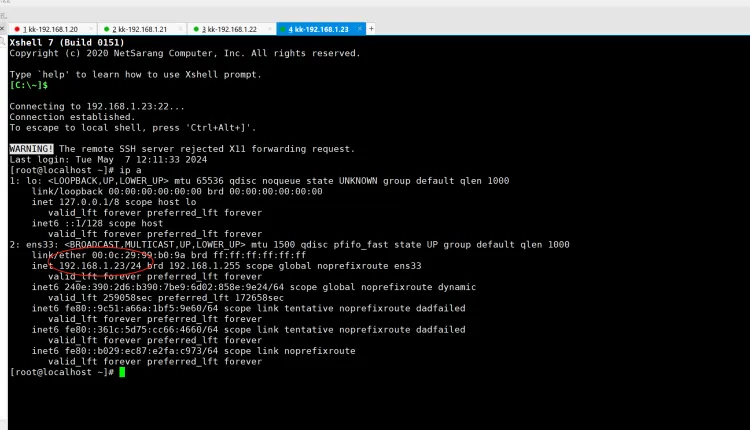
配置网络
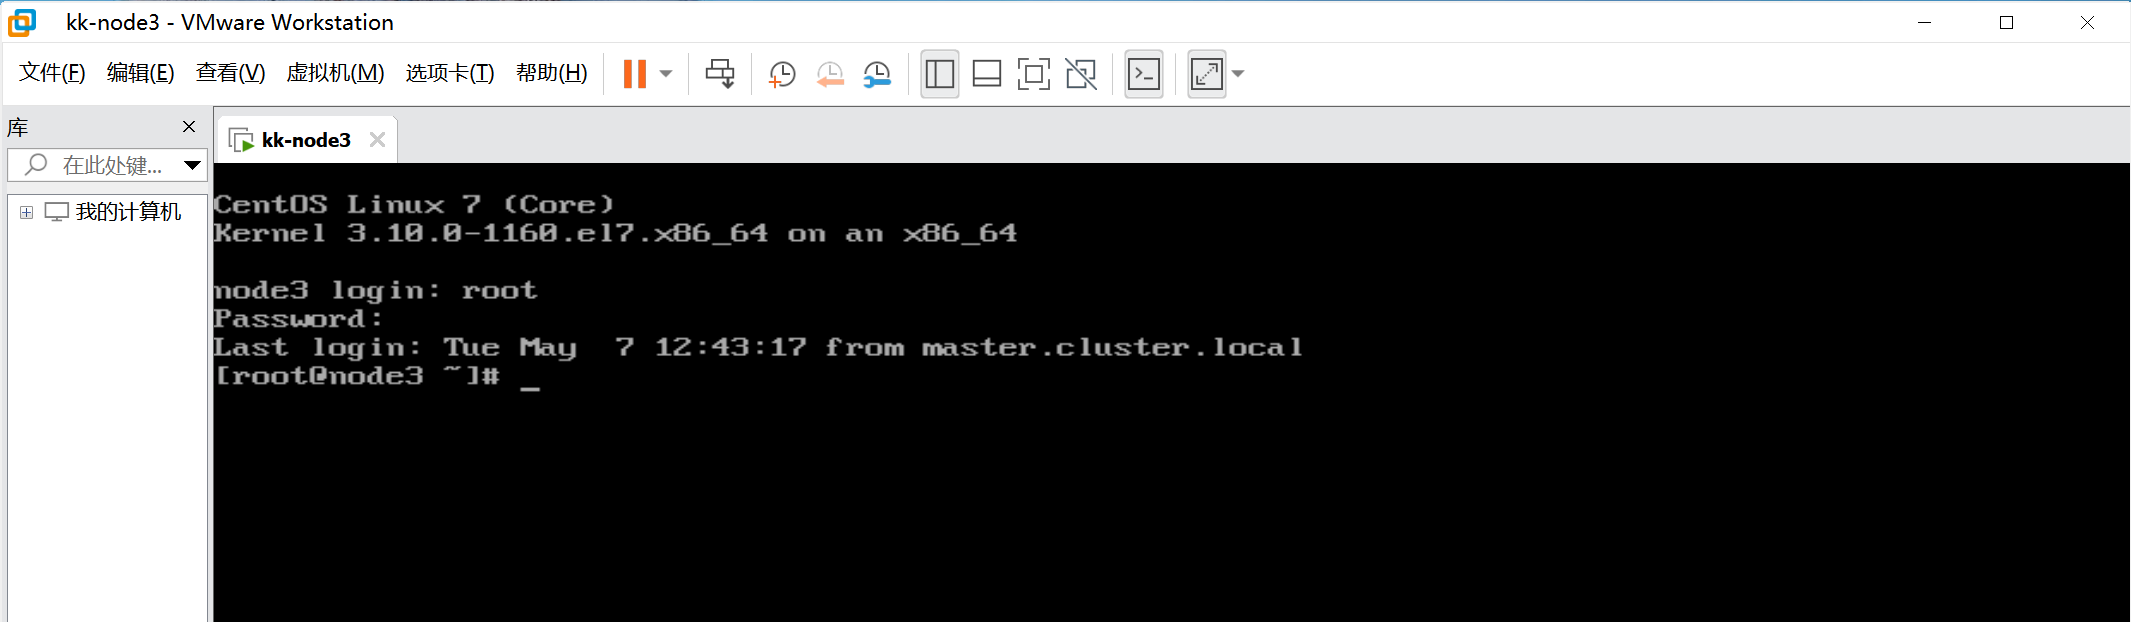
新克隆的虚拟机可能存在网络IP冲突,需要先配置一个新的IP地址,才能用xshell工具连接,按照如下步骤配置网络。
- 在vm窗口登录root账号
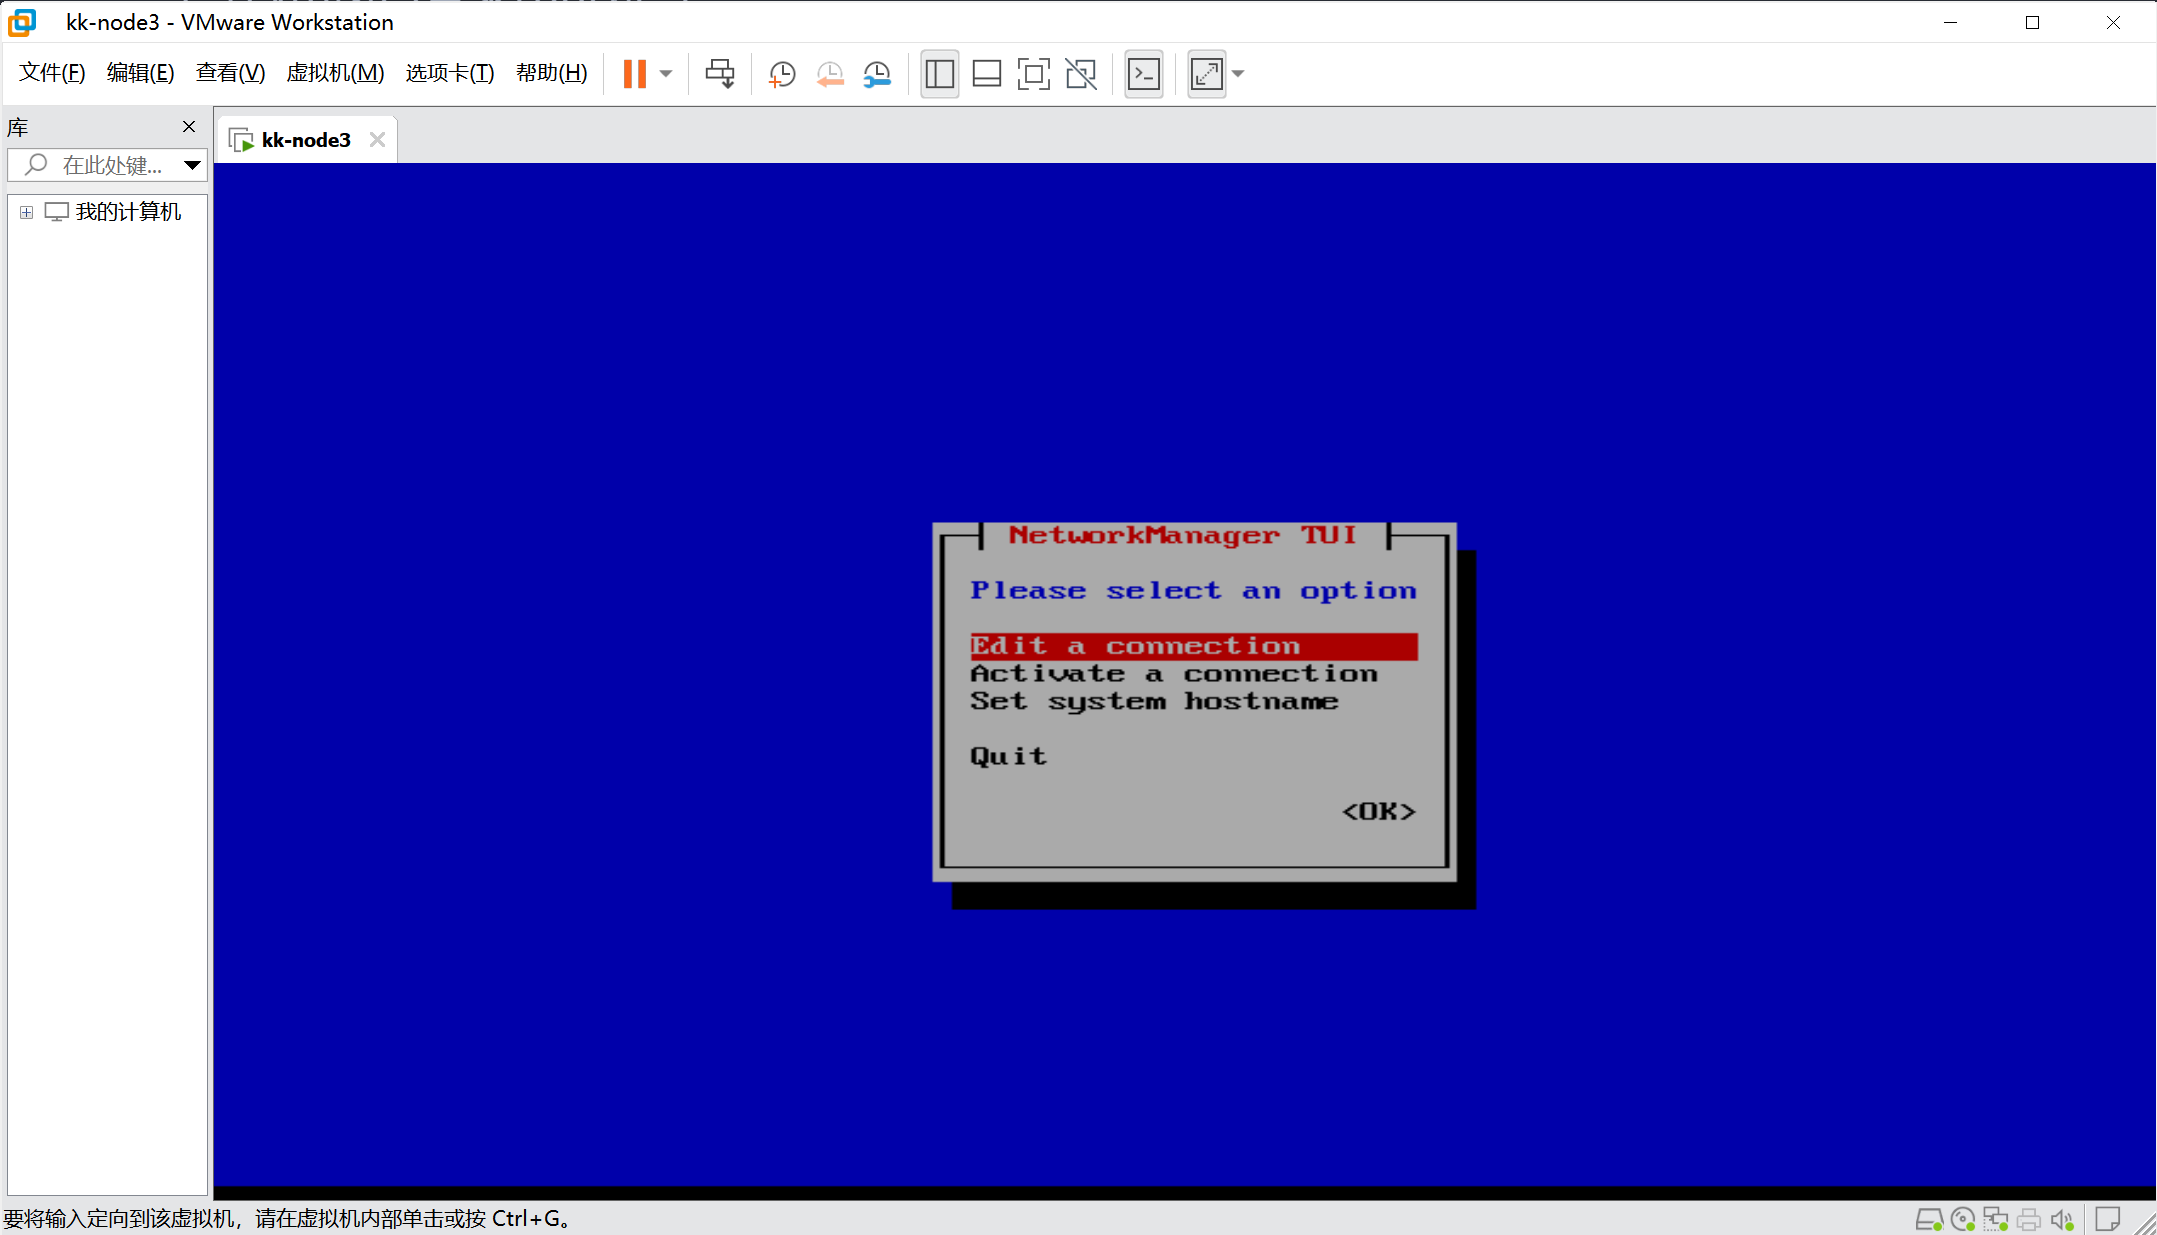
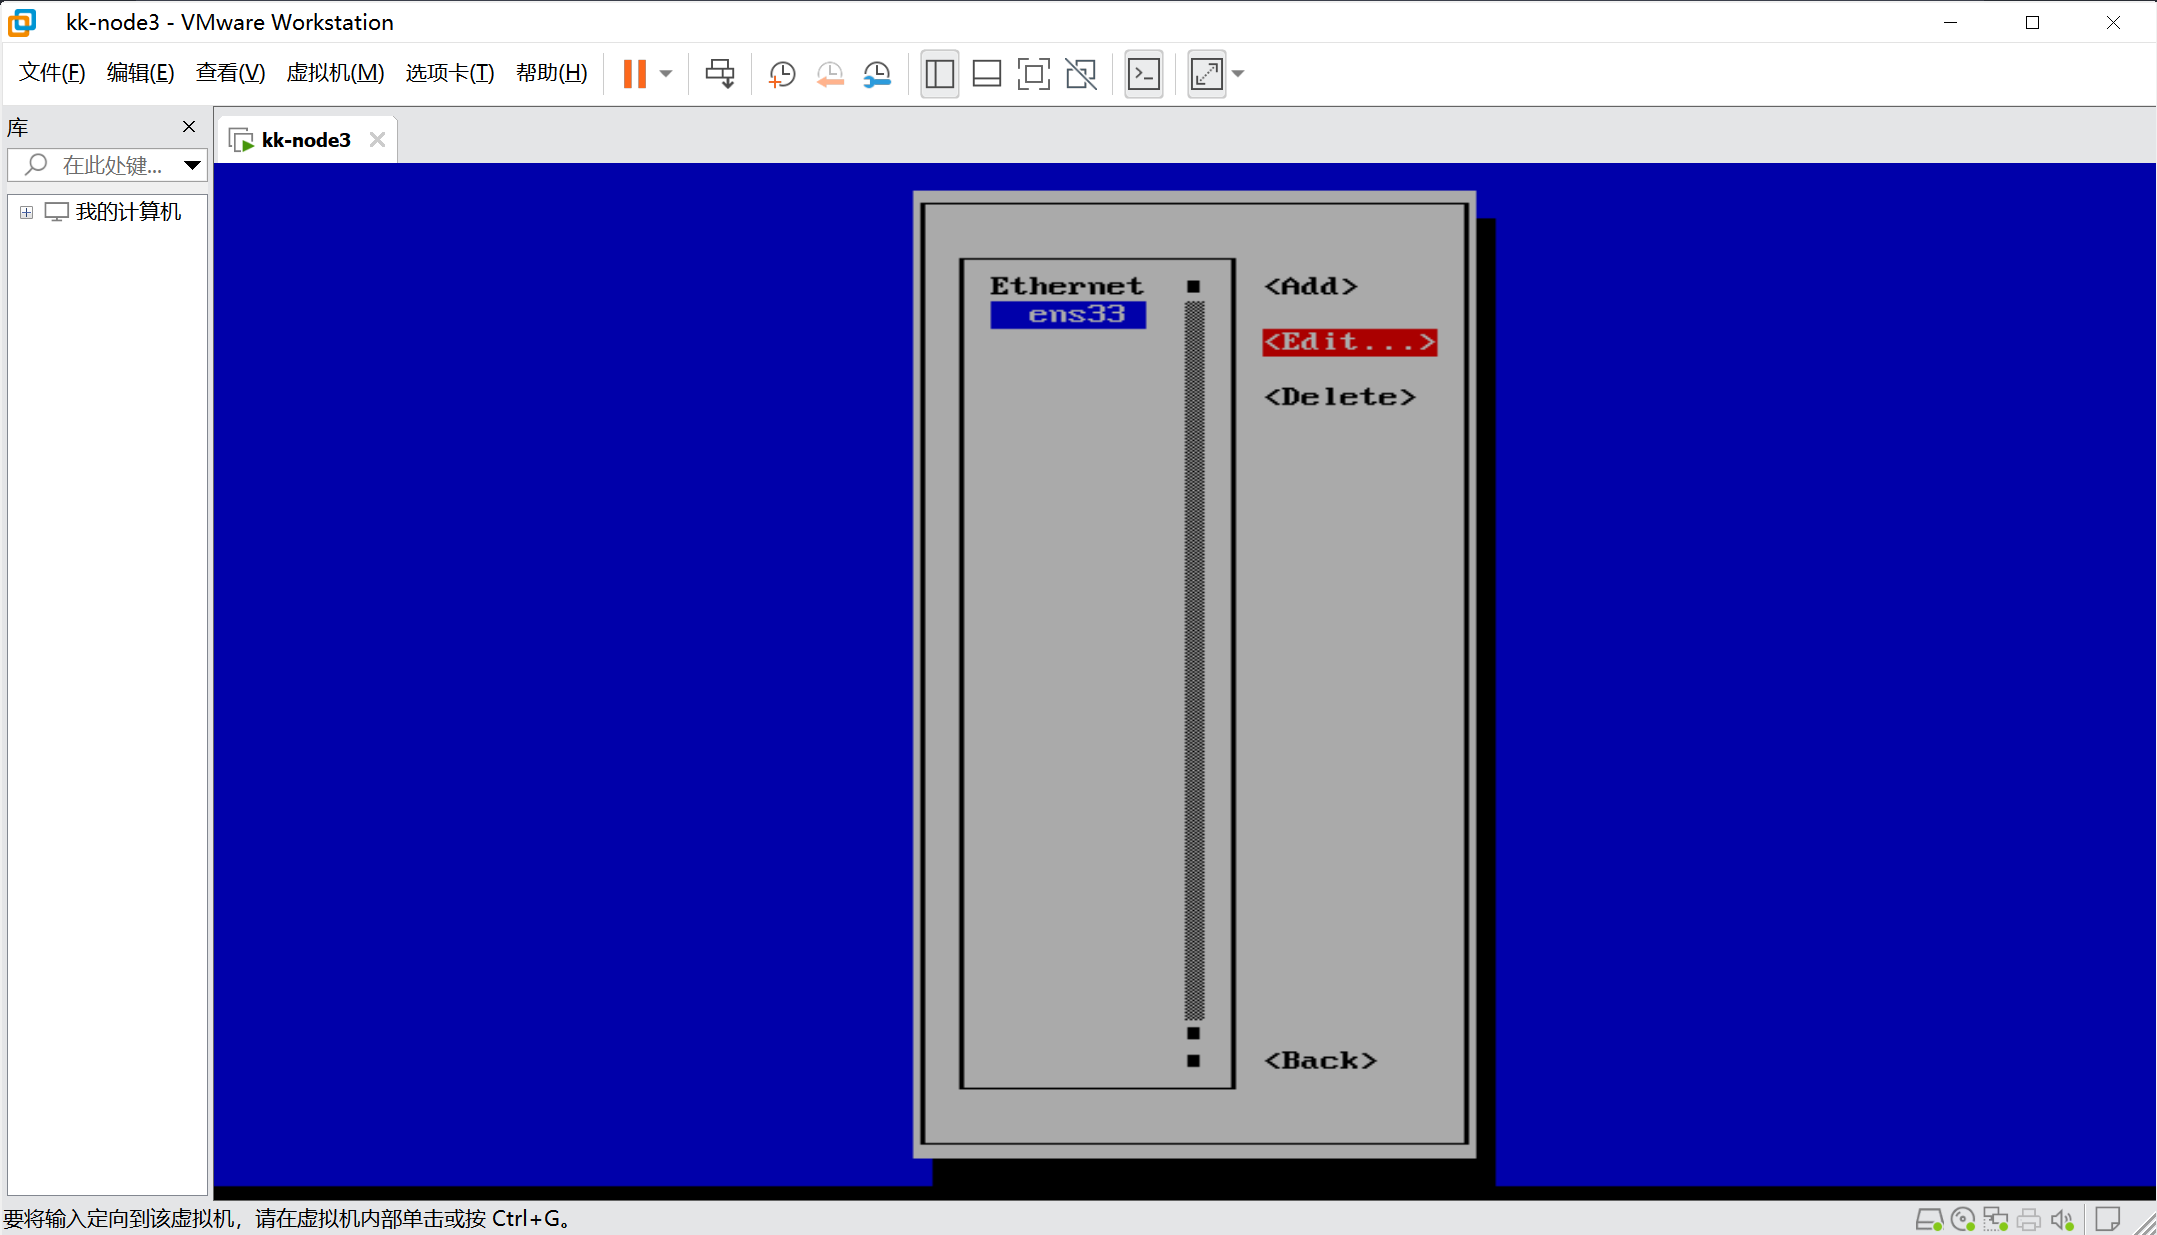
- 使用 nmtui 引导配置网络,在终端输入nmtui,具体步骤如下:
|
|
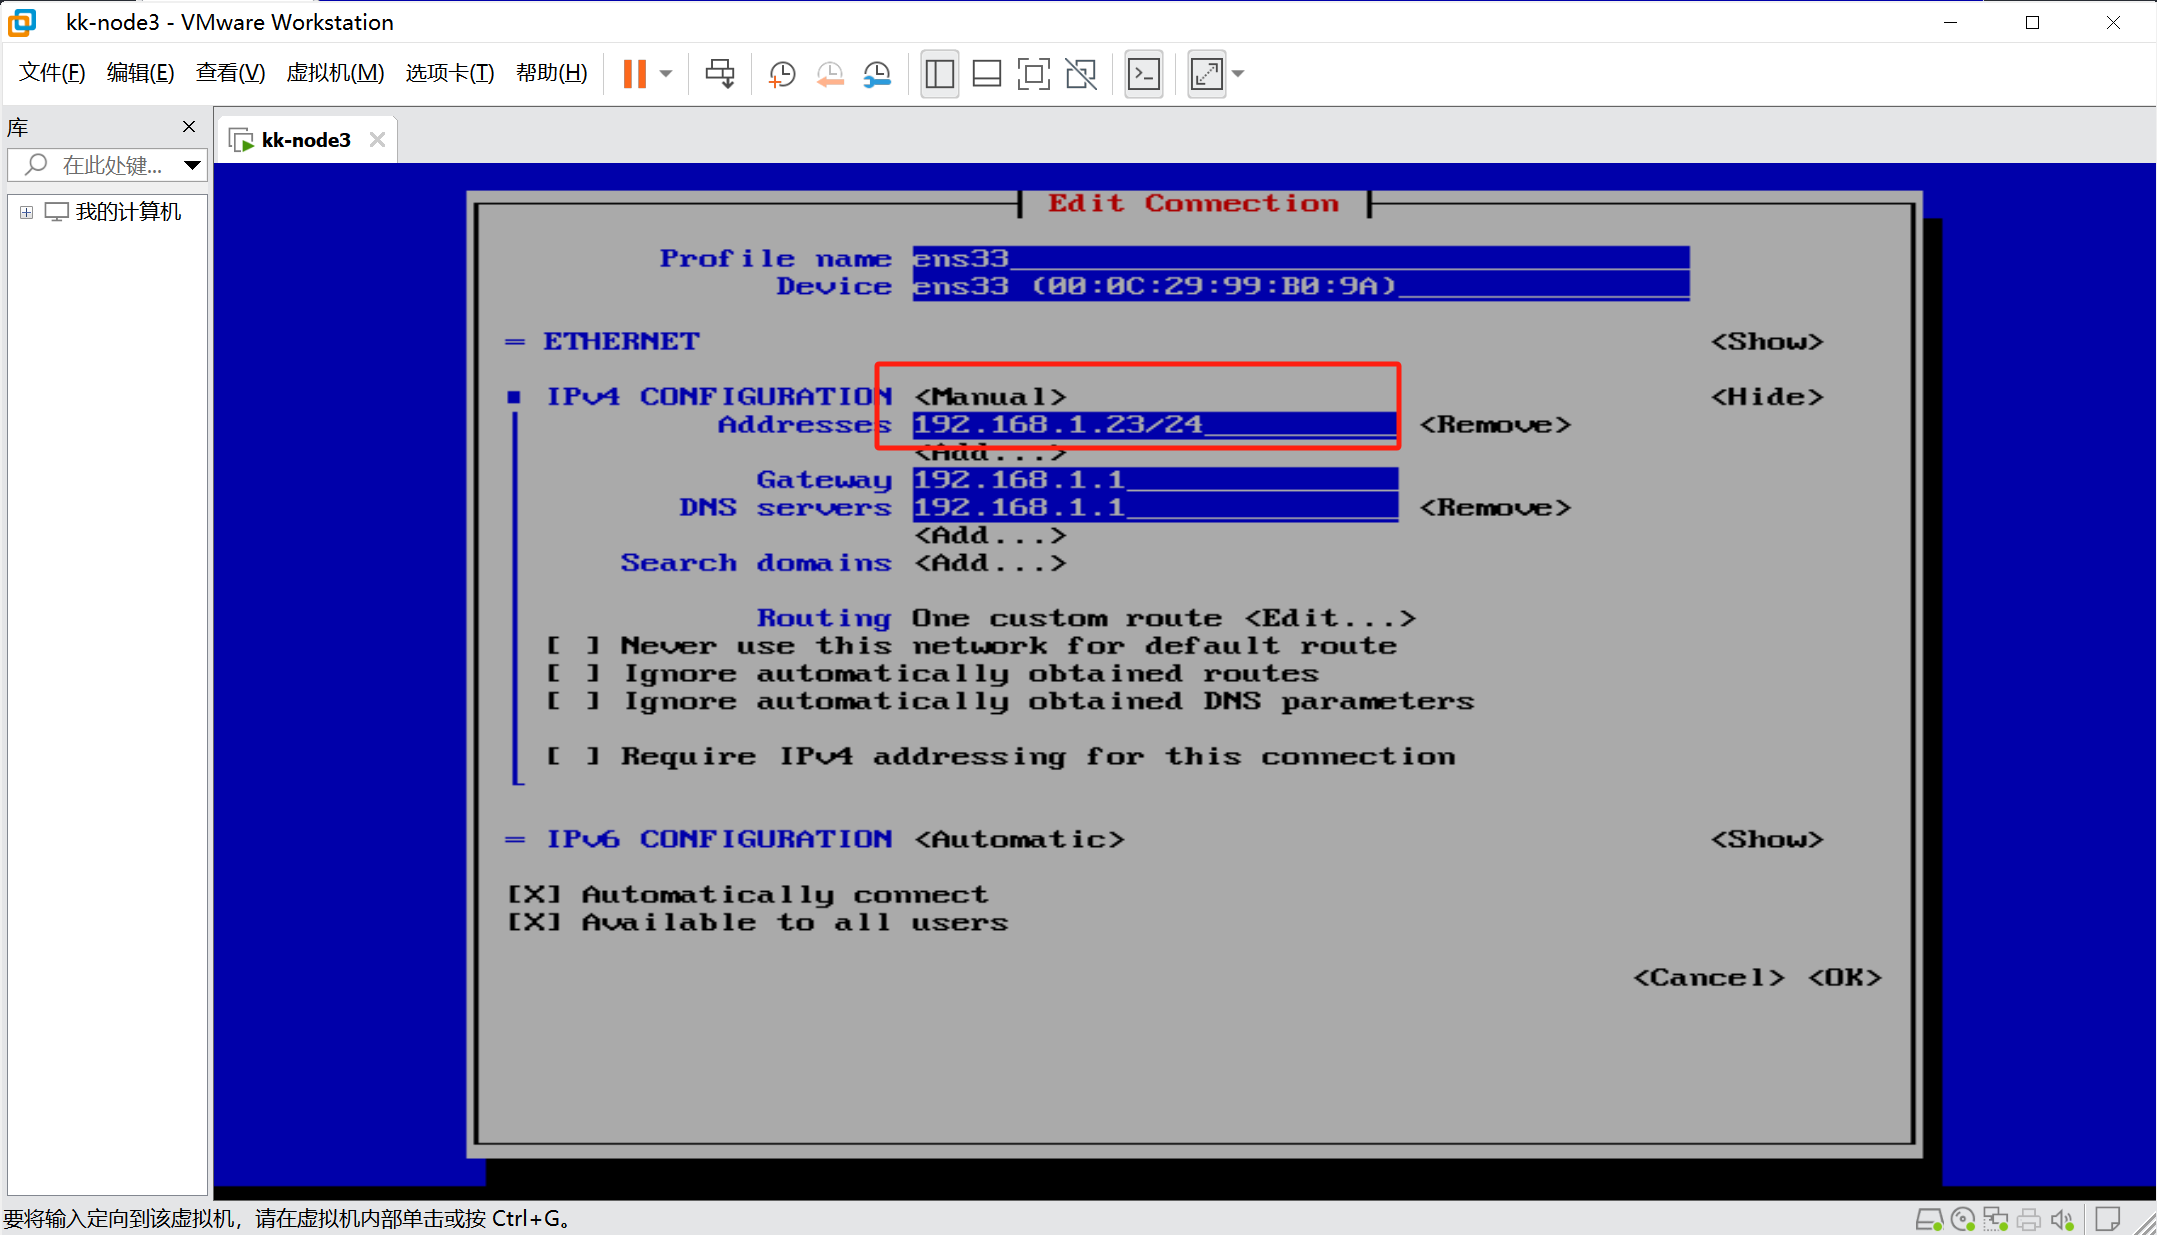
- 修改一个新的IP地址
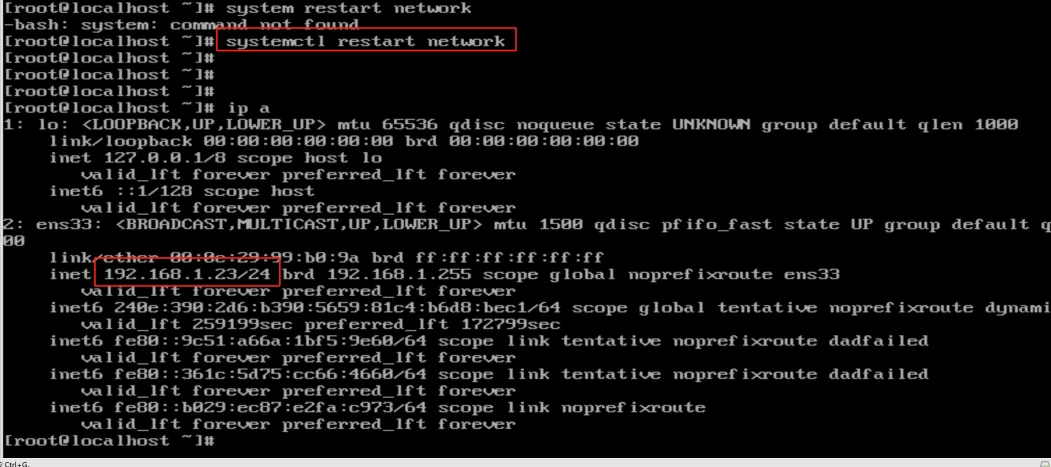
- 保存后重启网络,如果没有任何输出说明ok。
|
|
- 然后就可以用 xshell 连接了,操作起来更加方便。
安装依赖
- 设置 hostname
|
|

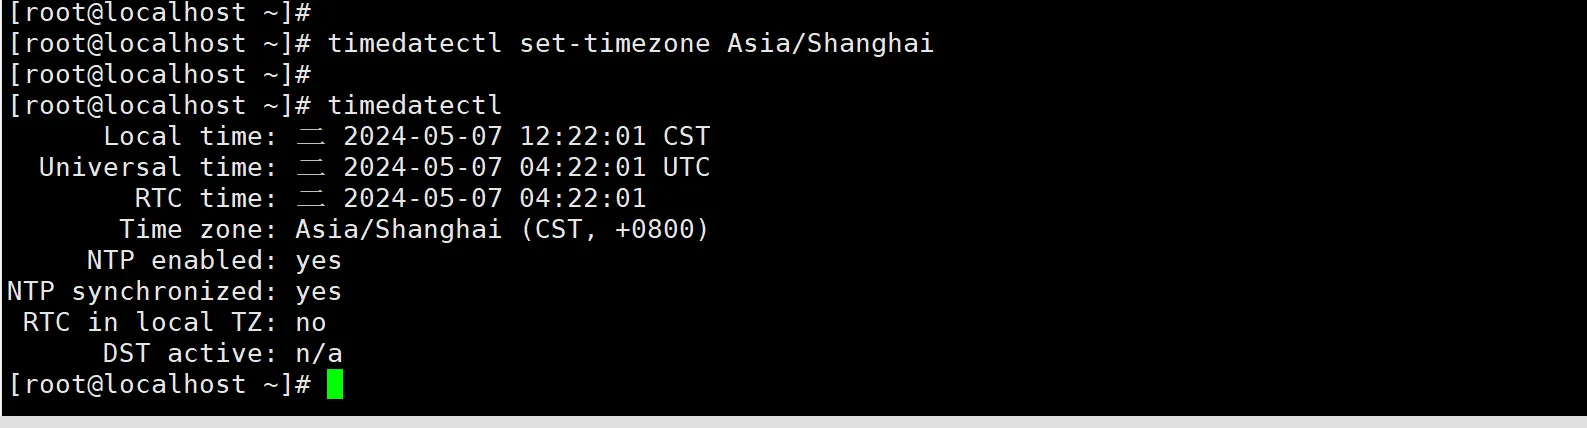
- 设置时区
|
|
- 配置时间同步器
|
|
- 配置集群所有节点 hosts , 把 node3 加入到 hosts配置文件中。
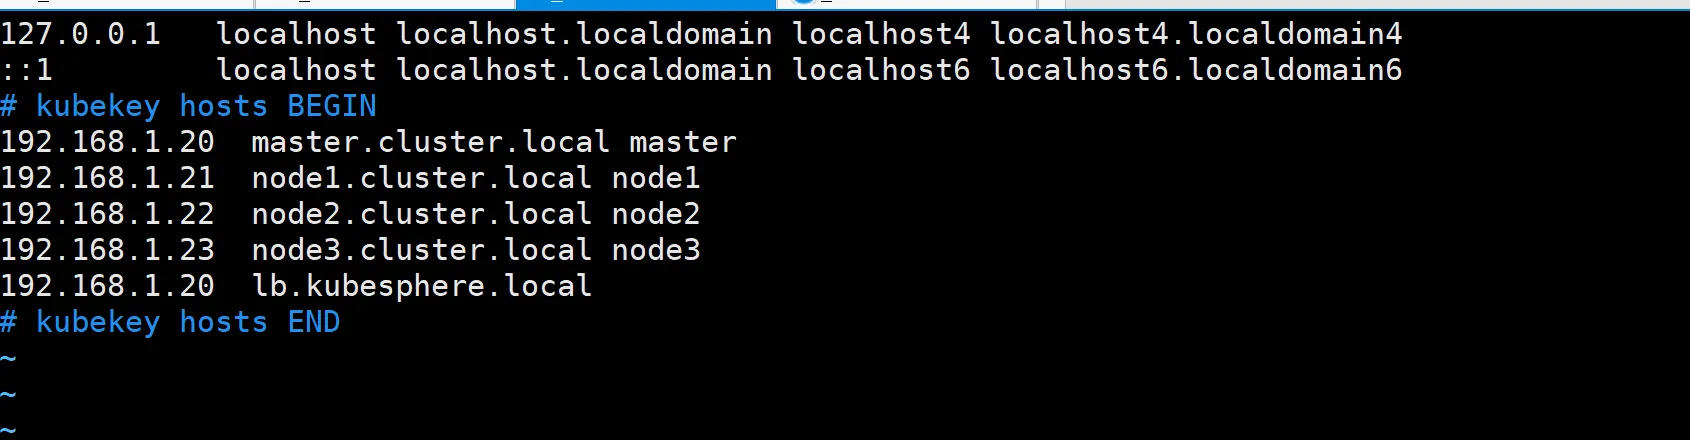
- 其他三个要修改的地方,和安装集群时操作一致,这里放在一起说明。
|
|
- 安装依赖, 这是集群所必须依赖的软件。
|
|
执行扩容
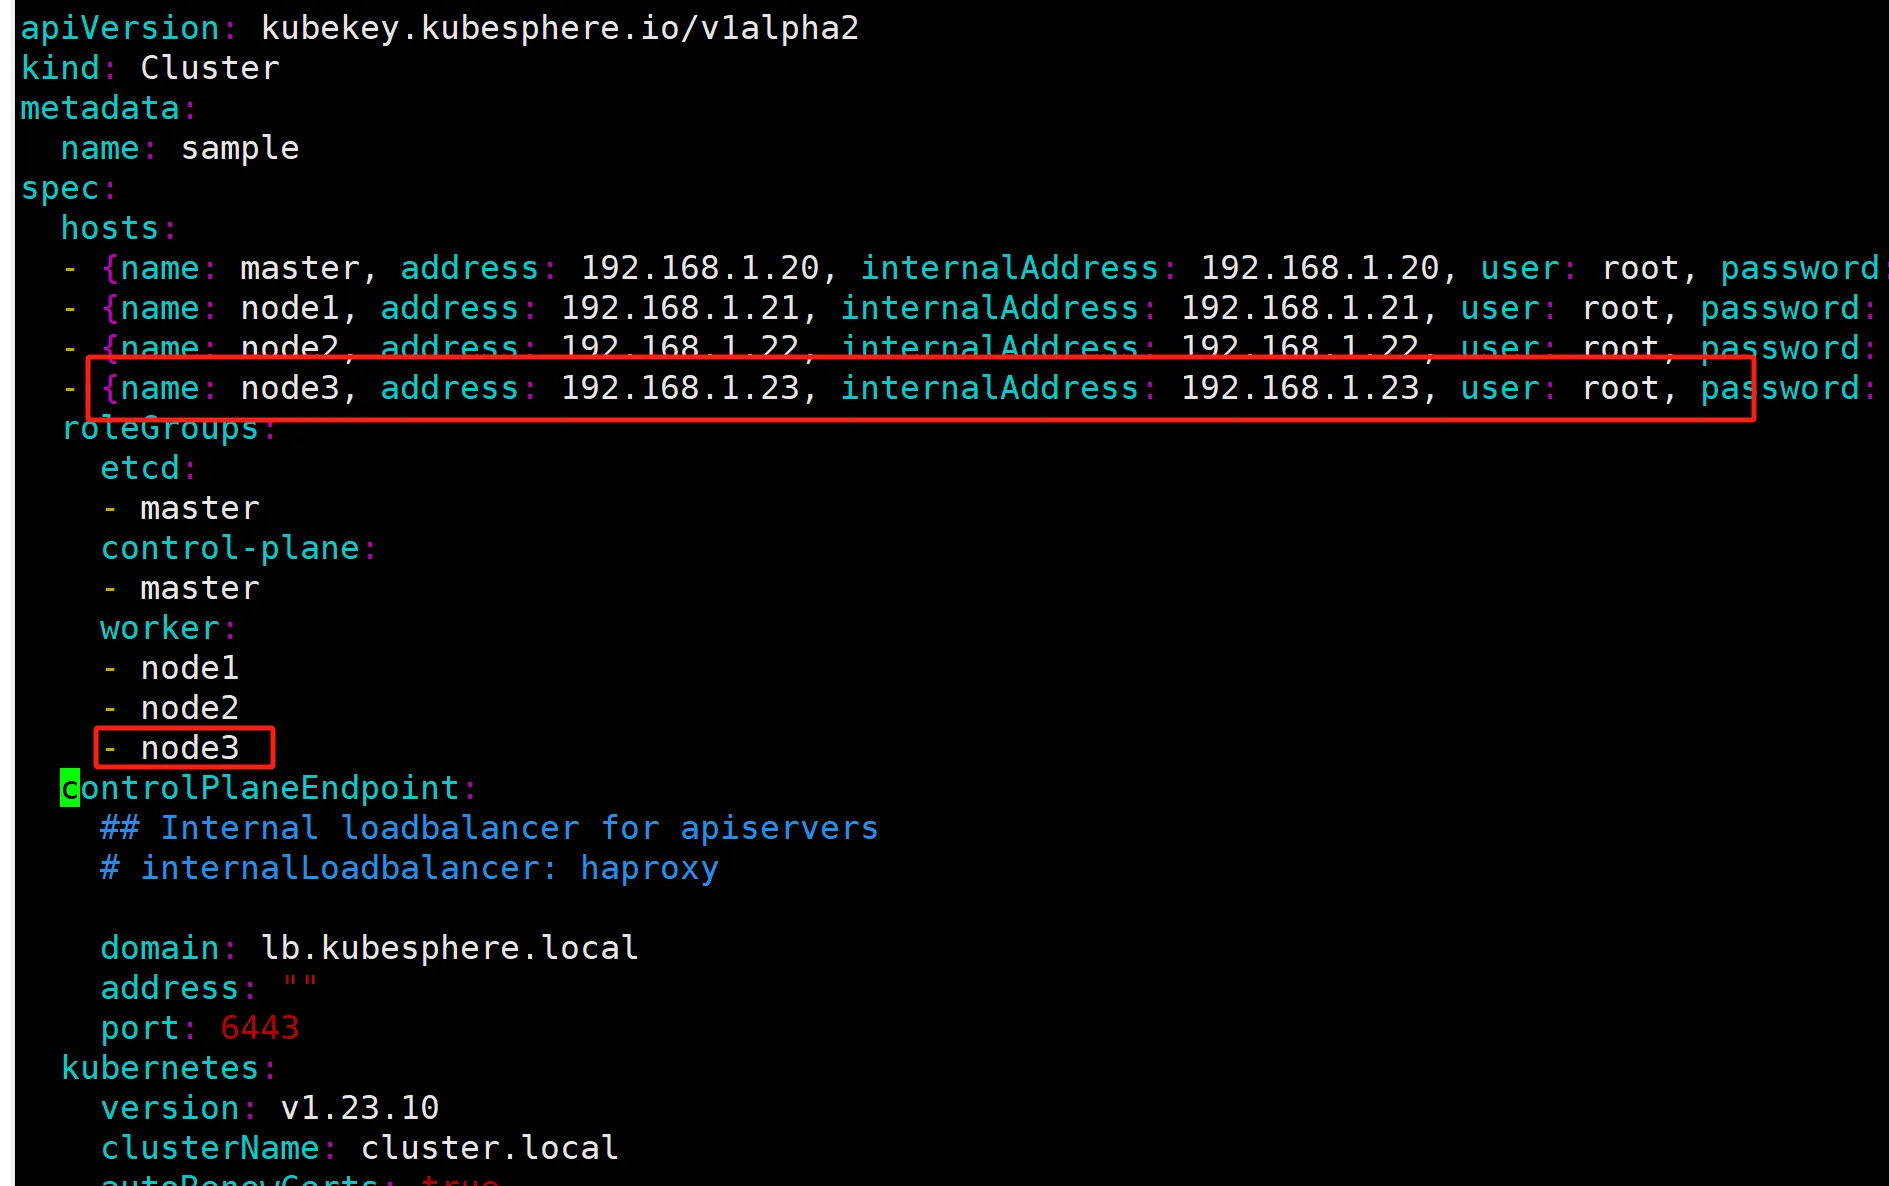
- 在 master 节点找到安装集群时用的配置文件和kk工具。

- 执行 vim 修改配置文件,加入 node3 新节点的配置信息。
|
|
- 执行以下命令扩容,在检查通过后输入 yes
|
|
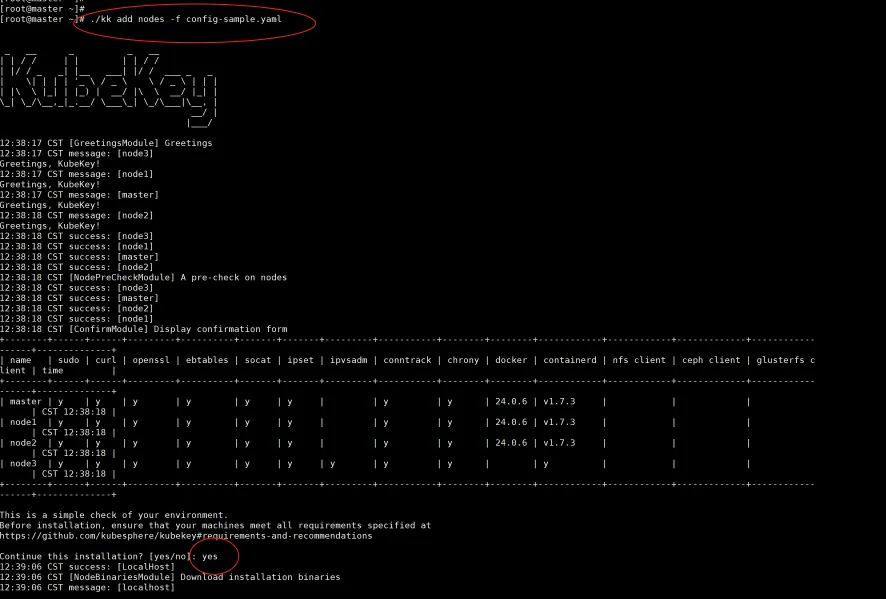
- 一段时间后看到如下结果表示扩容成功。

验证状态
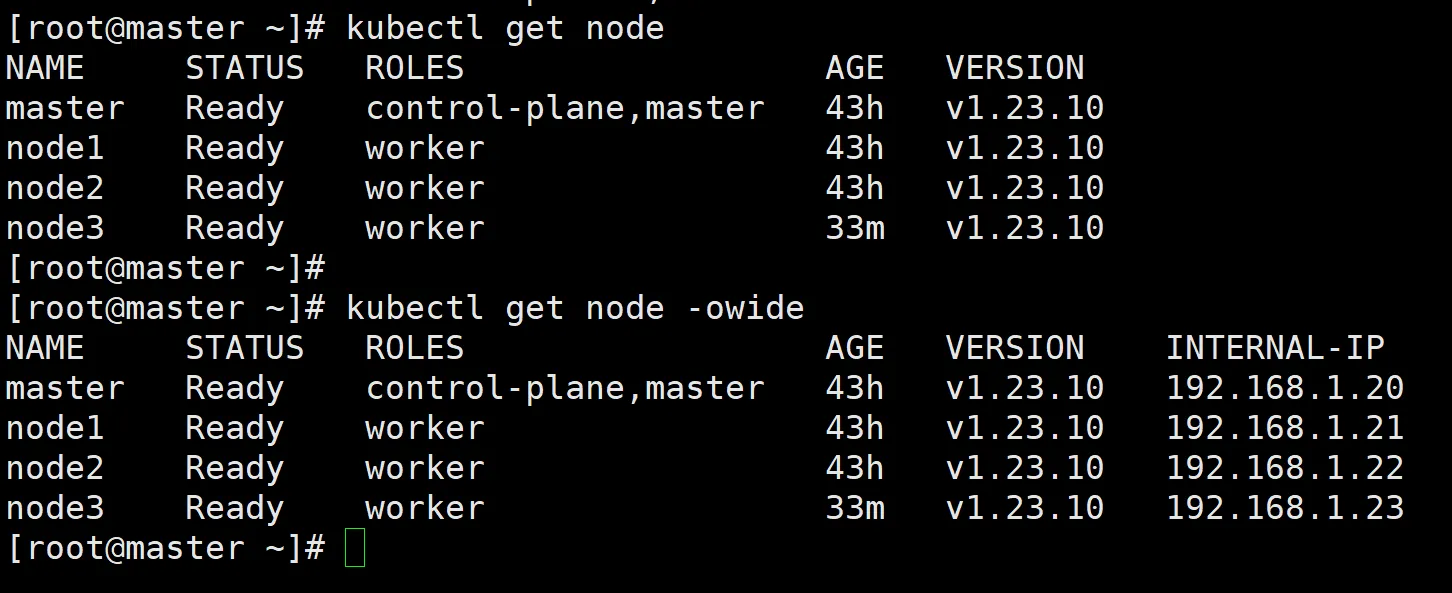
- 查看集群的状态,发现node3已就绪。
|
|
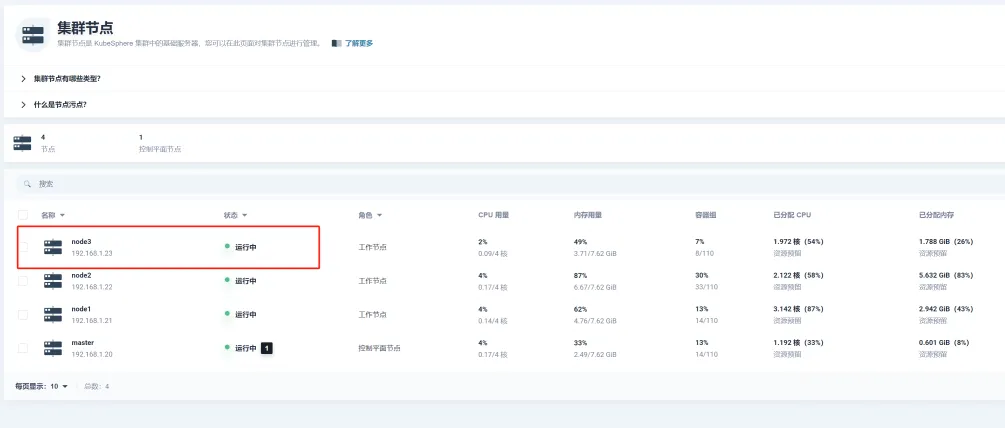
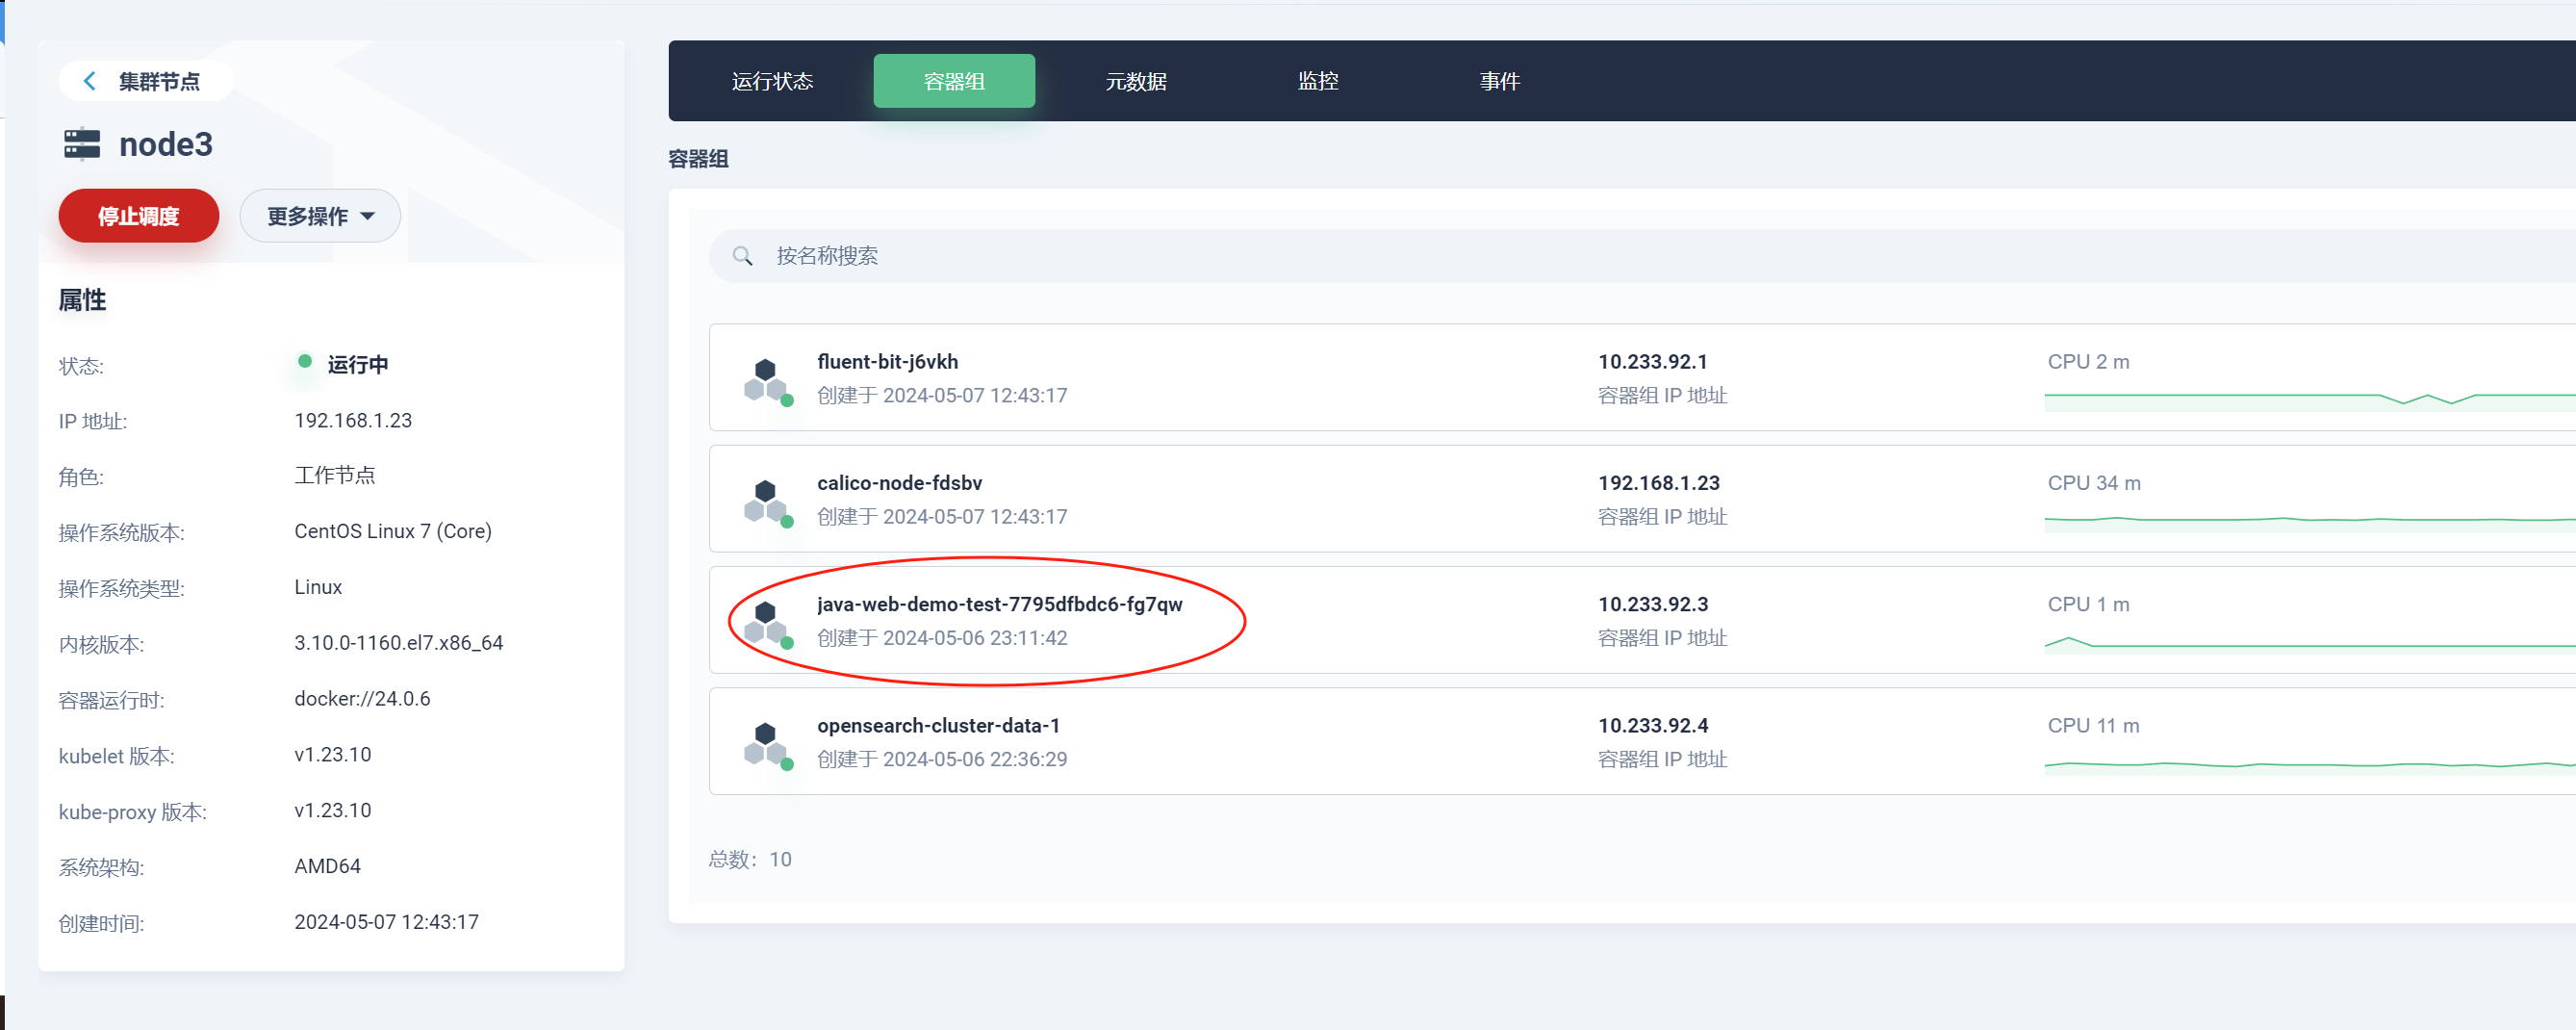
- 登录到 kubesphere 控制台查看,部分节点已经自动迁移到 node3 上。